Appearance
Choose the best optimization preset for your website
Optimole now includes presets that let you choose the best optimization settings based on your website’s goals — whether you prioritize speed, image quality, or a balance of both.
📝 Note: New users will start with the Speed Optimized preset by default. If you are old users that used plugin before this feature was introduced - you will retain your Custom settings.
In this article
Available Optimization Presets
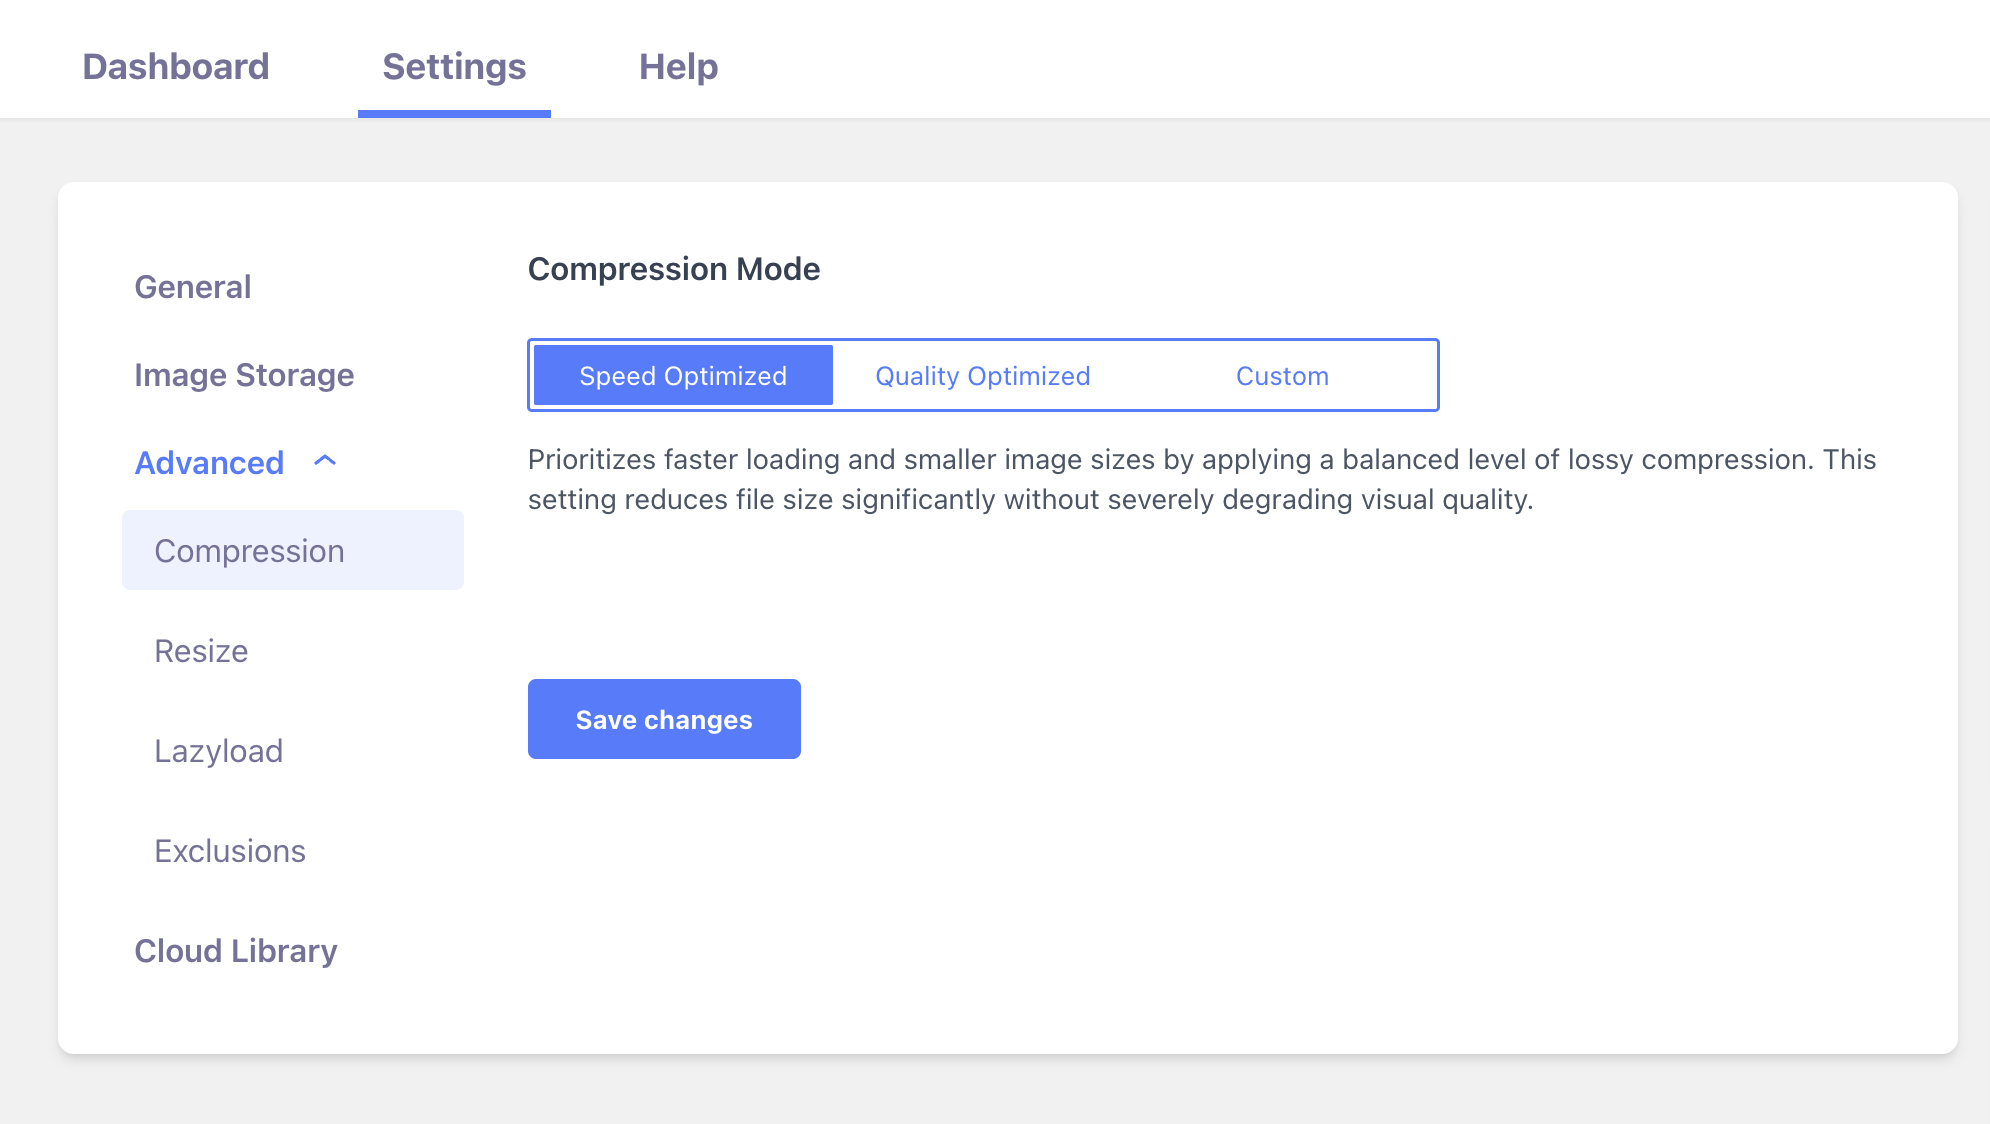
You can now select one of the following presets in Optimole > Settings > Advanced > Compression to quickly configure recommended settings:
Speed Optimized (Default for New Users)
Ideal for websites that focus on maximum performance, improved loading times, and better SEO (e.g., Google Core Web Vitals).
- Best Image Format: Disabled (serves AVIF/WebP only)
- Retina Images: Disabled
- Network Optimization: Enabled (adjusts quality for slow networks)
- AVIF: Enabled
- Strip Metadata: Enabled
Quality Optimized
Ideal for websites where image quality is more important than load speed, such as portfolios or eCommerce stores.
- Best Image Format: Enabled (chooses best format automatically)
- Retina Images: Enabled
- Network Optimization: Disabled
- AVIF: Enabled
- Strip Metadata: Enabled
Custom
A third option called Custom is intended for general use websites that want both decent image quality and good loading performance and you can customize all the settings upon your needs.

✅ Good to know: You can always switch between presets or customize individual settings at any time.
FAQ
- Where can I change the preset? Go to Optimole > Settings > Advanced > Compression and choose from the preset dropdown.
- Will changing a preset override my manual changes? Yes. Switching to a preset will apply the recommended settings and override any manual adjustments after you save the change.
- Can I go back to my old settings? If you change to a preset and want to undo it, you’ll need to manually restore your previous configuration if you saved a different preset already.